Maple Syrup Season in Wisconsin
By Vande Hey | March 4, 2017

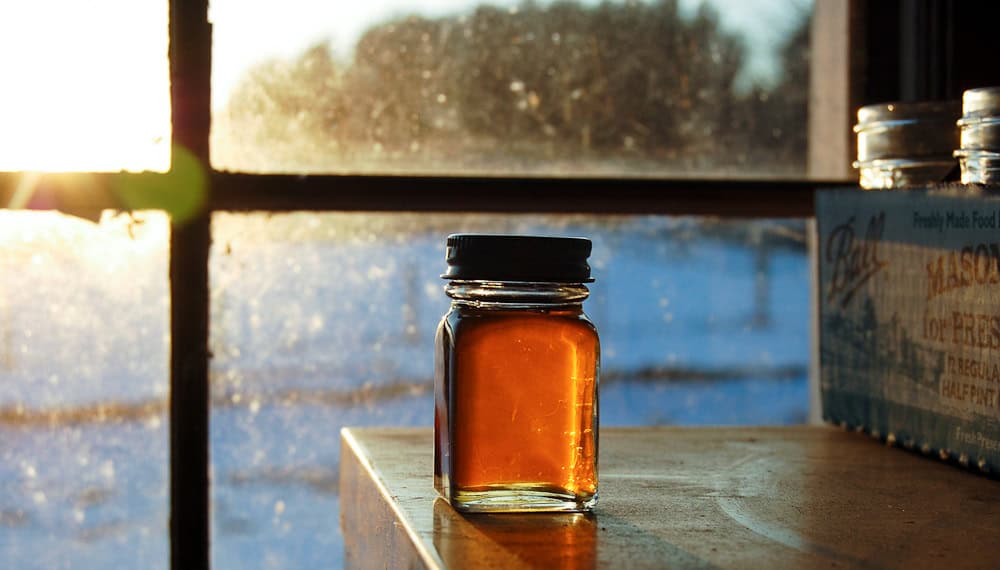
Now that March is finally here, it’s time to start looking ahead to the warmth that is to come. This warmth brings blooming flowers and budding trees and is the perfect time to create a sweet treat: maple syrup.

Algonquin and other native tribes in the northeastern US and southern Canada introduced English and French settlers to maple syrup. These tribes cut a vee into a maple tree, inserted a curved piece of bark as a spile (or tap), and collected the sap in clay pots. To concentrate the sap into syrup, the collected sap was either left out to freeze overnight with the ice being taken off the top in the morning or heated with hot rocks to evaporate the excess water. The settlers eventually used copper pots to be able to cook the sap down faster and to make the syrup even thicker. This thicker syrup, as well as maple sugar made from the syrup, were main sources of trade for the colonists.
To this day, we as a state proudly carry on this tradition of making maple syrup to this day. Not only is the Sugar Maple (Acer saccharum) the state tree of Wisconsin, we are also the 5th top producer of maple syrup in North America, coming after Quebec, Vermont, New York, and Ontario. We are able to produce so much due to our location: the northeastern part of North America is the only area in the world where the environment is perfectly balanced to grow sugar maples worthy of being tapped for sap. And for such a small area of the world capable of creating maple syrup, we are able to churn out 15 million gallons of syrup a year which requires 450 – 750 million gallons of sap!

It may seem hard to believe that we can get 15 million gallons of sap from a single species of tree, but the sugar maple is simply the sweetest and most productive tree. Oftentimes black maples are tapped as well and their sap is combined with sap from the sugar maple to increase yield. You can tap any tree to get sap, but most aren’t very sweet and have very distinctive tastes that wouldn’t fit the usual sweet taste of maple syrup.
The best time to tap a tree for sap is during late winter/early spring, when the nights remain at freezing or below and the days can climb into the 40s or 50s. Since trees don’t grow during the winter months, they store their sap in their roots, ready to call on it when the growing season begins. Once the weather warms enough, the sap begins its trek up from the roots to the branches where it will produce buds and new growth. The cool evening weather causes the sap to flow back to the roots to be stored until the warmth returns, thus ensuring a constant flow of sap that can be collected. Sap collection is best during the early spring since the sugar content is at its highest as the tree hasn’t yet used the sugar to create new growth.

To collect the sap, you need to identify the correct tree: first, that it’s a sugar maple and, second, that it’s at least 10 inches in diameter. Any smaller and the tree may not be able to produce enough new growth. As the tree grows, more taps may be introduced, though never put more than four taps on a tree as this can stress the tree too much. Each tap can produce about 10 gallons of sap a season, or about 1 quart of syrup. So factor your number of trees accordingly.
Once you have located the perfect tree, drill a hole (using a 5/16” bit is best) in the south or west side of the tree (as these warm first) between 2 – 5 feet above the ground and 1.5 – 2 inches deep at a slightly upward angle. Don’t drill in too deeply. Keep to the lighter sapwood of the tree as this will heal. If you drill into the darker heartwood, the tree won’t heal.

Note: if the tree has previously been tapped, don’t use the same hole. Drill the next hole at least 4 inches above and 6 inches to either side of the previous hole. This ensures that scar tissue doesn’t build up too much in one area and leave the tree susceptible to bacteria and disease.
With the hole in place, lightly tap the spile into the hole so you don’t damage the spile or split the bark. Most spiles have a hook or lip on them that you can rest the handle of a bucket or container on to hold it in place. You may also want to secure a covering of some sort over the container to stop large debris and insects from falling into your sap, though that can be strained out later.
Always be sure to empty your container daily, though depending on the ambient temperature and the size of your container, you could be emptying it multiple times a day as warmer days produce more sap. But warmer days also reduce the longevity of the collected sap. Cooler temperatures allow you to store the sap in a covered container until you’ve collected enough to cook. If it’s too warm (above 45 degrees), you will need to cook the sap immediately or store it in the refrigerator so it doesn’t spoil.
Stop sap collection when you have collected enough sap for your purposes or if the tree has stopped producing sap. If the sap has started to come out yellow, this is also a good time to stop as the tree is starting to bud and the sap will cause the syrup to have a “buddy” sort of taste. Simply remove the spile when you are finished collecting your sap. The tree will heal on its own in a few weeks.

Assemble your tools for the cooking process: a long-handled stirring spoon, a candy thermometer, a straining implement like cheesecloth or muslin, a kettle with a large heating surface that can hold at least a gallon of sap (avoid aluminum kettles as they can give the syrup a metallic taste), and a heat source capable of constant, even heating. Traditionally this was done in a large cauldron on a tripod over a fire, but today people are more likely to use large, shallow pans which allows the sap to be heated more evenly and lessens the risk of burning. You can also heat it on your stove indoors but only if you have a small batch or a strong exhaust fan as too large a batch can cause sticky moisture to collect on walls and surfaces.
First, strain the sap to remove most of the large debris. Fill the kettle about 2/3 full and bring it to a boil. Since sap is 90% water, it has about the same boiling point as water so you may want to boil some water and check at what exact temperature the water begins to boil to ensure an accurate temperature later on. Once most of the water has boiled out (it takes about 5 hours to boil down 5 gallons of sap), you need to keep a close eye on the sap as it can very quickly scorch or boil over. During this time, use the spoon to skim off any foam that forms on the surface. You do not need to stir the syrup at this time as the boiling is constantly mixing it.

Once the syrup has reached 6-7 degrees above the boiling point of water (water usually boils at 212 degrees Fahrenheit, so at about 219 degrees Fahrenheit), remove it from heat and let it cool to between 180 and 200 degrees. Once it reaches that temperature, strain it a final time to remove any remaining debris as well as the sand-like deposits (niter) that are present in sap. Reheat the strained syrup to near boiling again and pour into hot, sterilized pint jars, filling them between ½ an inch to an inch from the top. Seal tightly and allow them to cool before you store them to prevent spoiling as pure syrup doesn’t have any preservatives.
As a top sugar maple growing area, we have an abundance of “untapped” potential for sweets right in our own backyards. If you are interested in making your own maple syrup but are unsure exactly how to do it, there are local nature centers that can show you how. The Ledge View Nature Center in Chilton is hosting Maple Syrup Sunday on March 19 from 9 AM – 3 PM. Admission is free to tour the trees and includes the following: see how trees are tapped, help with sap collection, and learn the history of how sap becomes syrup. There is a fee for a pancake breakfast if you would like to taste the center’s syrup.
On Saturday, April 8th, from 8:30 AM to 11:30 AM, the Gordon Bubolz Nature Preserve in Appleton is hosting Maple Syrup Saturday and will be giving tours of their syrup producing process which includes a hike through the woods to see the trees as well as a demonstration of the final processing. There is a small fee to taste the fresh syrup on some ice cream after the tour, but the tour itself is free. They also are having a Pancake and Porkie breakfast served by the Girl Scouts. Reservations are required for the breakfast.


